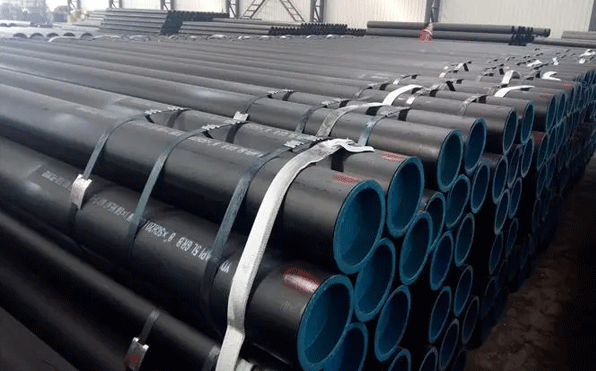
PRODUCTS
½” – 12” some limitations dependent upon grade. Sizes up to 26” OD are available on limited basis.
Standard Specification for Pipe, Steel, Black and Hot-Dipped, Zinc-Coated, Welded and Seamless. This specification covers seamless and welded black and hot-dipped galvanized steel pipe.
The following types and grades of A53 pipe are covered within this specification:
- Type F Pipe – Furnace-butt-welded, continuous welded Grade A
- Type E Pipe - Electric-resistance-welded, Grades A and B, called a53 erw pipe
- Type S Pipe - Seamless, Grades A and B, called a53 seamless pipe
ASTM A53 application
1 Architecture: maximum pipeline under more groundwater extraction when towers, boilers, hot water conveyance and so on.
2 Machining, bearing sets, processing machinery and other accessories.
3 Electrical class: gas distribution, water power fluid conduit.
4 Anti-static tubes wind power plants.
MECHANICAL PROPERTIES – TENSILE REQUIREMENTS
CHEMICAL REQUIREMENTS FOR A53
Bending requirements
For pipe NPS 2(DN50) and under, a sufficient length of pipe shall be capable of being bent cold through 90°around a cylindrical mandrel, the diameter of which is twelve times the outside diameter of the pipe, without development cracks at any portion and without opening the weld.
When ordered for close coilling, the pipe shall stand being bent cold through 180°around a cylindrical mandrel, the diameter of which is eight times the outside diameter of the pipe, without failure.
Double extra strong pipe over NPS 1 1/4(DN 32) need not be subjected to the bend test.
Flattening test
The flattening test shall be made on pipe over NPS 2(DN 50) with all thickness extra strong and lighter.
For seamless pipe, a test specimen at least 2 1/2 in.(60mm) in length shall be flattened cold between parallel plates in two steps. During the first step, which is a test for ductility, no cracks or breaks on the inside, outside, or end surfaces. During the second step, which is test for soundness, the flattening shall be continued until the test specimen breaks or the opposite sides of the pipe meet. Evidence of laminated or unsound material that is revealed during the entire flattening test shall be cause for rejection.
For electric resistance welded pipe, a test specimen at leat 4in. (100mm) in length shall be flattened cold between parallel plates in three steps, with the weld located either 0°or 90°from the line of direction of force. During the first step, which is a test for ductility of the weld, no cracks or breaks on the inside or outside surfaces at the weld shall occur until the distance between the plates is less then two thirds of the specified diameter of the pipe. as a second step, the flattening shall be continued as a test for ductility away from the weld. During the second step, no cracks or breaks on the inside or outside surfaces away from the weld. During the third step, which is test for soundness, the flattening shall be continued until the test specimen breaks or the opposite walls of the pipe meet. Evidence of laminated or unsound material or of incomplete weld that is revealed by the flattening test shall be cause of rejection.


Related Products
PLEASE GIVE US AMESSAGE

Scan QR code to add Whatsapp!


